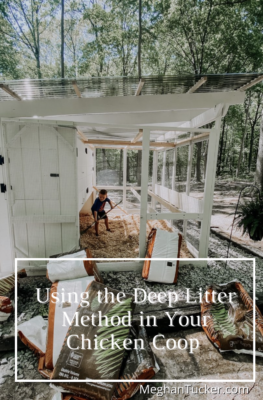
Before getting chickens this year, everyone kept telling us what a hassle it is to keep the coop clean. I admit that was one of the things I was dreading about raising backyard chickens, but we’re doing this ” for the kids” (right?!?) and I figured it would be worth it in the end. Then, we heard about the Deep Litter Method.
If you’re thinking of raising a small flock or already have your small flock, the deep litter method is the way to go. Instead of doing lots of scooping out and replacing the chicken bedding all the time, you allow the bedding to accumulate and decompose inside the coop. By using this method, it makes it where chickens are less susceptible to diseases.

So, how do you go about using the deep litter method?
- Layer 3-4 inches of clean litter on the floor of the coop. This is the bedding we use. Then, use a rake to even out the shavings.
- Then, once the bedding has had a little time to pack down, you add another layer of shavings. If you add food scraps or scratch grains every day or two, the chickens will pack down the bedding for you. If the bedding looks caked, use a rake to even it out.
- Keep the coop well ventilated so you don’t notice any odor. Even in the winter. If you start to smell that nasty chicken smell, just add more litter.
- Then, twice a year (we do it in the fall and winter), it’s cleaning day for the coop where you scoop all the chicken bedding out. But, leave a base layer to hold the new bedding in place. We scoop it into a garden cart and carry it off to a compost pile. You can then use this for compost for your garden.
We love the deep litter method because it’s super easy and you only have to do it twice a year. Also, another plus is how odorless the coop is.
If you’re just getting started with backyard chickens or want to check out our coop, you can find our chicken coop HERE.
If you’d like to check out some of our favorite chicken coop products, decor, and must have’s, you can HERE and HERE.
Leave a Reply